I’ve always loved collecting books. I’ve got enough books that my friends make jokes about using stacks of books as furniture – not true, but close enough. But there is one type of book that I’ve never been able to get my hands on: fanfiction and other independently written, underground work. Especially work with queer themes and/or erotica.
It’s frustrating that fanfiction isn’t generally publishable or sellable. It’s a shame that creators could spend months or years laboring over a phenomenal piece of work and never see a dime for it, never see it in print. So I finally hit on an idea, an attempt to thank the authors of these wonderful underground works, without wandering into legality issues. I decided to learn how to make books. These books are not for sale and are gifts to the authors.
So I have been working on this for a couple of months and here are the first results. These are the very first books I have bound.
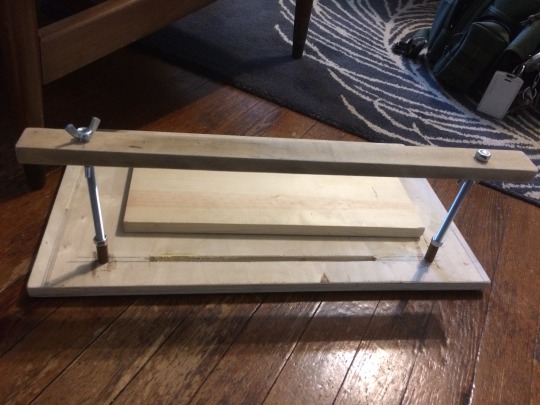
Step 1. Making bookbinding tools. I realized very quickly that I needed a sewing frame and a book press. If I were to order these things I would have spent anywhere from $150 – $500. Luckily my family likes to make things. So I enlisted my dad to help me make some simple tools. cost: $30 in materials and an afternoon.
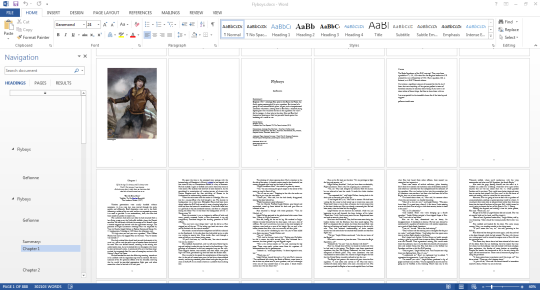
Step 2. Typesetting. Microsoft Word lets you print in “booklet” form, which allows you to create signatures from folded 8.5×11" paper. Each book takes a half to a full day to format.
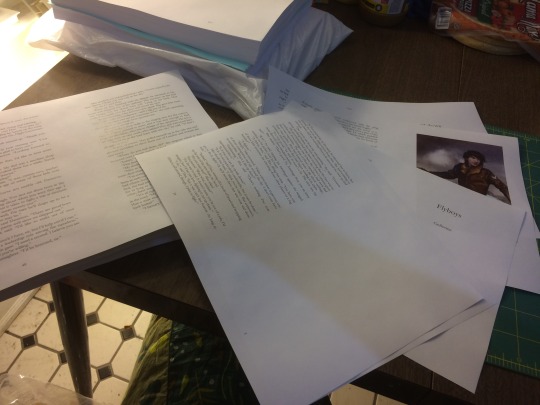
Step 3. Printing. I am lucky enough to have a robust color laser printer at my disposal. Lightweight 20lb bond / 75gsm copy paper is what I used. This isn’t ideal for books, but it’s inexpensive, easy to procure, and doesn’t choke the laster printer. Perhaps in the future I can do an edition on super thin Bible paper, if I can find a printer that will print on it.
Step 4. Folding, Punching. Perhaps the most tedious part: Every sheet of paper must be folded individually. Then you assemble the signatures and use an awl to punch holes for sewing. Flyboys was 888 pages, which means 222 sheets of paper to fold.
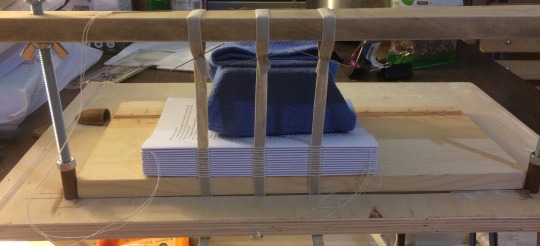
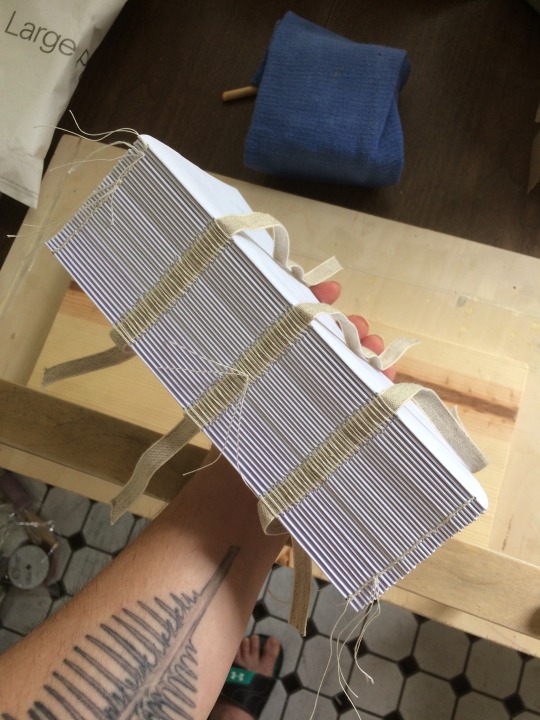
Step 5. Sewing the text block. Now it’s time for tool #1, the sewing frame. This worked exactly as designed, holding the linen tapes steady while I sewed around them. A brick in a rag serves as a weight to hold the text block down while sewing.
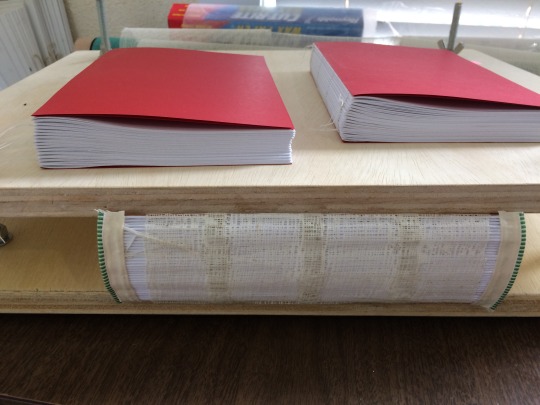
Step 5. Gluing. Once the text block is sewn, I glue the end papers to both sides. Then it goes into tool #2, the press, with the spine edge poking out. I glue the signatures together, then apply the headbands and mull as further reinforcement. I leave the book in the press overnight.
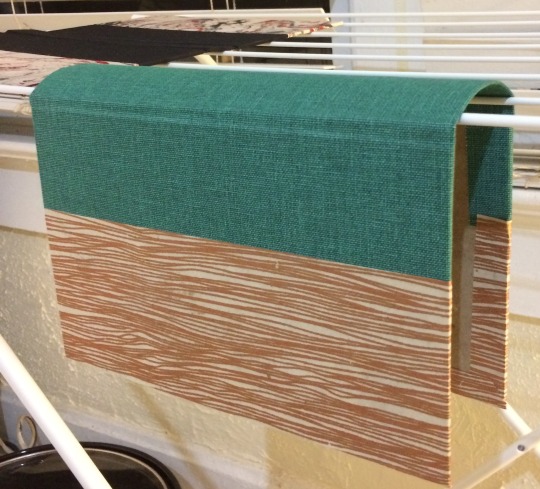
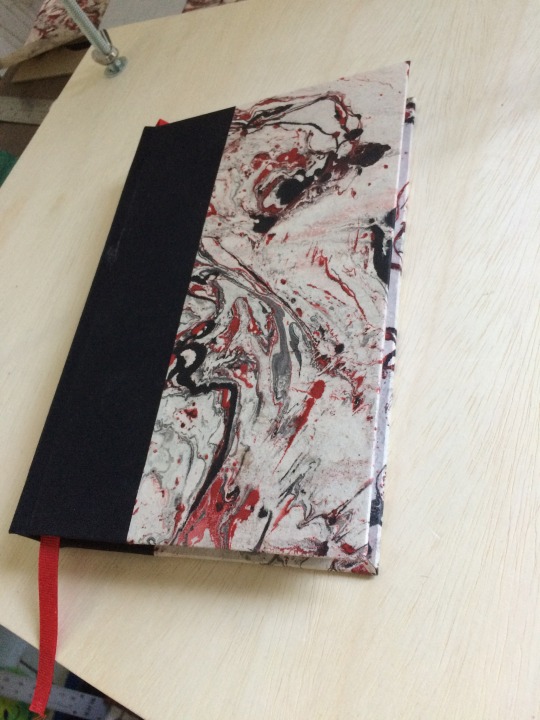
Step 6. Making the Case. The case or cover. I’m making half-bound cases, which means there is fabric on the spine, but the boards are covered in decorative paper.
For Flyboys, I went with a “Hux’s hair and verdigris” theme of green cloth, copper printed paper and copper endpapers.
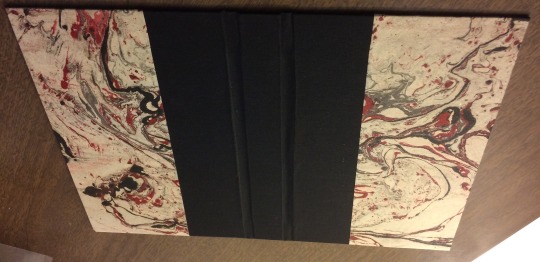
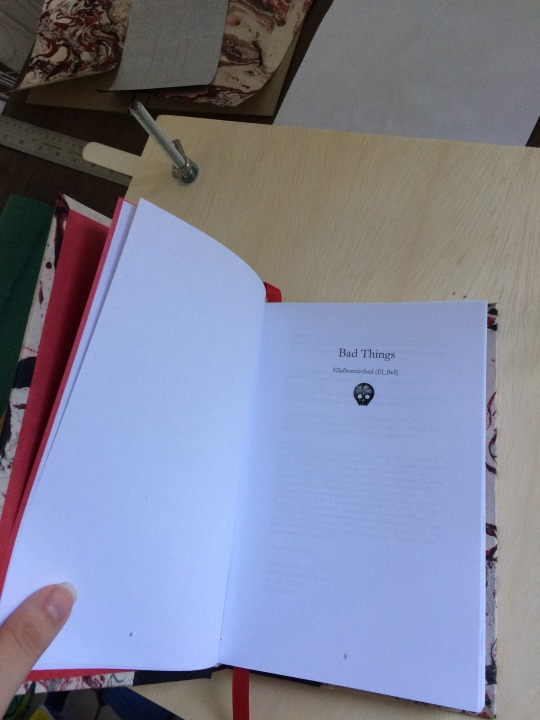
For Bad Things, I wanted murderous blood spatters. I ended up with black cloth, black and red marbled paper and red metallic endpapers.
Step 7. Assembly. The most nerve-wracking step. This is where you glue the block to the case. One shot deal. If you do it crooked, the book is crooked forever. YIKES! After you glue it, you put it in the press overnight again.
Step 8. Ex Libris. I have a few old ex libris labels with Aubrey Beardsley art, I think that’s an appropriate choice to pair with the queer and sexy, so I am adding them inside the front endpapers in the traditional spot. An ex libris label is a traditional way to signify who the book belongs to.
Step 9. Make author squeal with glee. My favorite step.